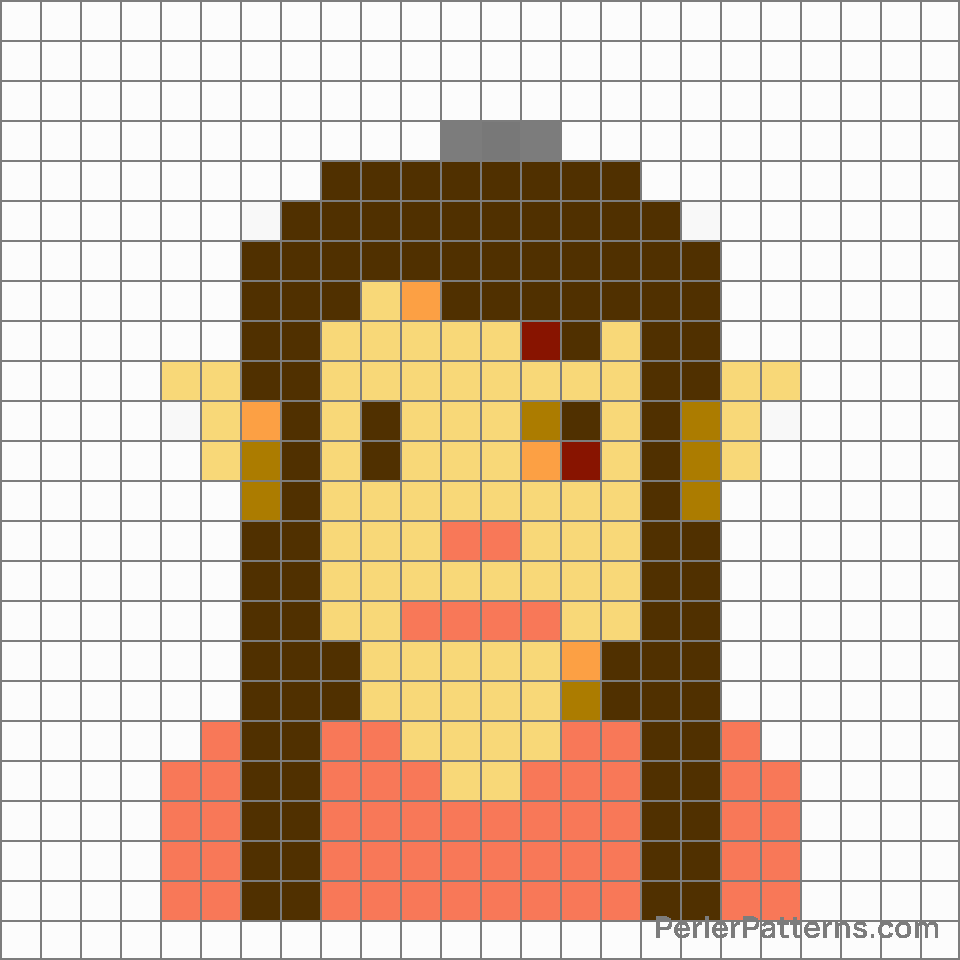
Elf emoji Perler Pattern
The emoji 🧝 depicts a mythical creature known as an elf. It features a gender-neutral figure with a pale skin tone, pointy ears, and a mischievous smile. This elf emoji stands out with its vibrant, emerald green hair, which flows down in wavy locks. It is further adorned with a golden circlet, placed elegantly on its head. The keenly expressive eyes of the emoji project an aura of wonder and enchantment, adding to its mystical charm. The overall appearance of the emoji is captivating and fantastical, symbolizing creativity, magic, and the realm of fantasy. Given its depiction of a mischievous elf, this emoji can be used in various contexts to express a range of emotions and ideas. It can convey a sense of playfulness, whimsy, or imaginativeness. One can employ this emoji to represent a shared love for fairytales, fantasy literature, or mythical creatures. Additionally, it can be used to express a mischievous or roguish behavior, signifying a playful trick or mischief that is about to happen. Furthermore, this emoji can be utilized when discussing the world of gaming, particularly role-playing games, where elves are often portrayed as powerful and elusive beings. Overall, this versatile emoji offers a gateway to the realm of magic and wonder, allowing for a myriad of creative and engaging conversational opportunities.
Instructions
Start making the "Elf" emoji Perler Pattern by choosing one of the patterns below, depending on the size of pattern you are looking for, and the outline style. Then, click on the "Print" button to the right to print out the pattern, or click on the image itself to open it in a new window.
Once you've printed the pattern, follow the instructions here to make your own Perler bead creation!
Related Patterns

Man vampire

Elf

Woman supervillain

Man superhero

Man fairy

Superhero

Mermaid

Mx claus

Supervillain

Merperson

Baby angel

Man zombie
More from People & Body
About PerlerPatterns.com
PerlerPatterns.com is the world's largest (and free) site for Perler Beads, Fuse Beads and Hama Beads patterns and designs.
Learn how to create your own Perler Bead patterns by click on the button below:
Instructions


