Superhero emoji Perler Pattern
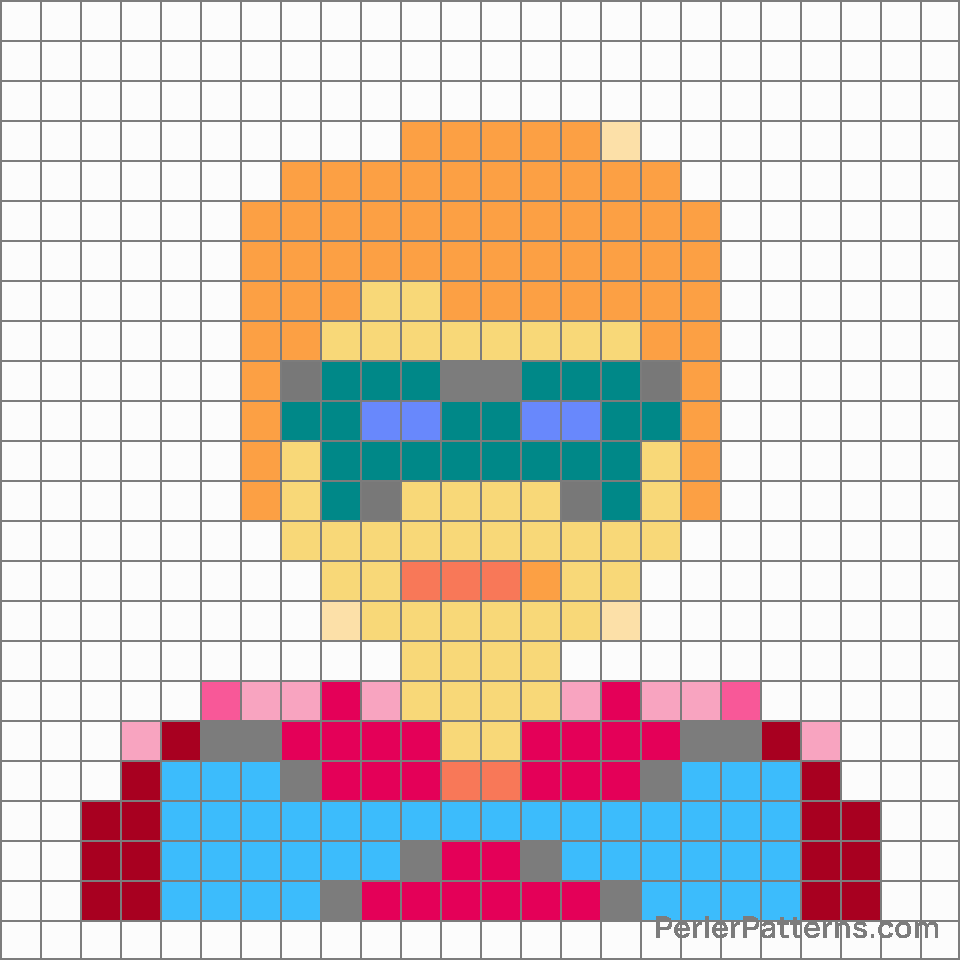
The emoji 🦸 depicts a superhero wearing a vibrant-colored mask, cape, and suit, with a determined expression on their face. The detailing of the emoji, including the defined muscular build and the iconic superhero pose with one arm flexed, portrays a symbol of strength, bravery, and protection. The superhero's presence is further enhanced by the flowing cape, which adds an element of dynamism and movement to the overall depiction. This emoji conveys a sense of bravery, valor, and the ability to save the day in the face of adversity. Given its representation of a superhero, this emoji could be best used to convey a message of admiration, appreciation, or encouragement towards someone who has displayed exceptional qualities or accomplished a heroic feat. It can bring forth a sense of awe and inspire others to be courageous and resilient in their own pursuits. Alternatively, it could be used humorously to playfully acknowledge someone's confidence or larger-than-life personality. This emoji would also be suitable in situations where support is needed, serving as a virtual cheerleader, reminding someone that they are capable of facing challenges head-on and emerging victorious. Overall, the 🦸 emoji serves as a visual affirmation of strength, resilience, and the potential for greatness within every individual.
Instructions
Start making the "Superhero" emoji Perler Pattern by choosing one of the patterns below, depending on the size of pattern you are looking for, and the outline style. Then, click on the "Print" button to the right to print out the pattern, or click on the image itself to open it in a new window.
Once you've printed the pattern, follow the instructions here to make your own Perler bead creation!
Related Patterns

Supervillain

Mrs. claus

Man superhero

Woman genie

Baby angel

Elf

Woman superhero

Merperson

Mage

Zombie

Woman supervillain

Genie
More from People & Body
About PerlerPatterns.com
PerlerPatterns.com is the world's largest (and free) site for Perler Beads, Fuse Beads and Hama Beads patterns and designs.
Learn how to create your own Perler Bead patterns by click on the button below:
Instructions


