Creating Perler Bead Patterns
Introduction
This guide will walk you through the fun process of creating your own perler bead patterns using a mold and an iron. Perler beads are a great way to make colorful designs and artworks.
Materials Needed
- Perler beads in various colors
- A perler bead mold (pegboard)
- An iron for fusing the beads
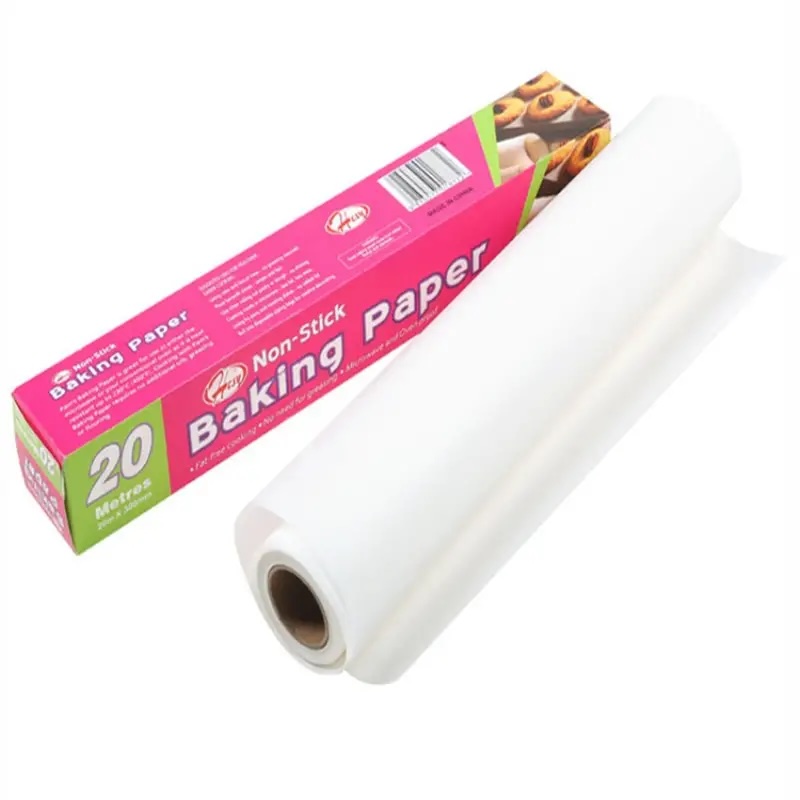
- Ironing paper or parchment paper to protect the beads during ironing
- Tweezers for handling small beads (optional but recommended for precision)


Step-by-Step Instructions
- Choose Your Design: Start by selecting a pattern or design by going to the home page. You can also search for a specific design using the search bar at the top of the page.
- Place Beads on the Mold: Carefully place your perler beads onto the pegboard following your chosen design. You can use tweezers to place each bead accurately. Ensure that the beads are properly seated on the pegs.
- Cover with Ironing Paper: Once your design is complete, gently lay a sheet of ironing paper over it. This paper protects the beads from direct heat and prevents them from melting onto the iron.
- Iron the Beads: Preheat your iron to a medium setting. Then, gently iron over the paper in a circular and consistent motion for about 10-20 seconds. The beads will begin to fuse together as they melt. Be careful not to overheat as this can warp the design.
- Let it Cool: After ironing, let the beads cool under the paper for a few minutes. This cooling period helps the beads to set properly. Once cooled, carefully peel off the paper and lift your design from the mold.


