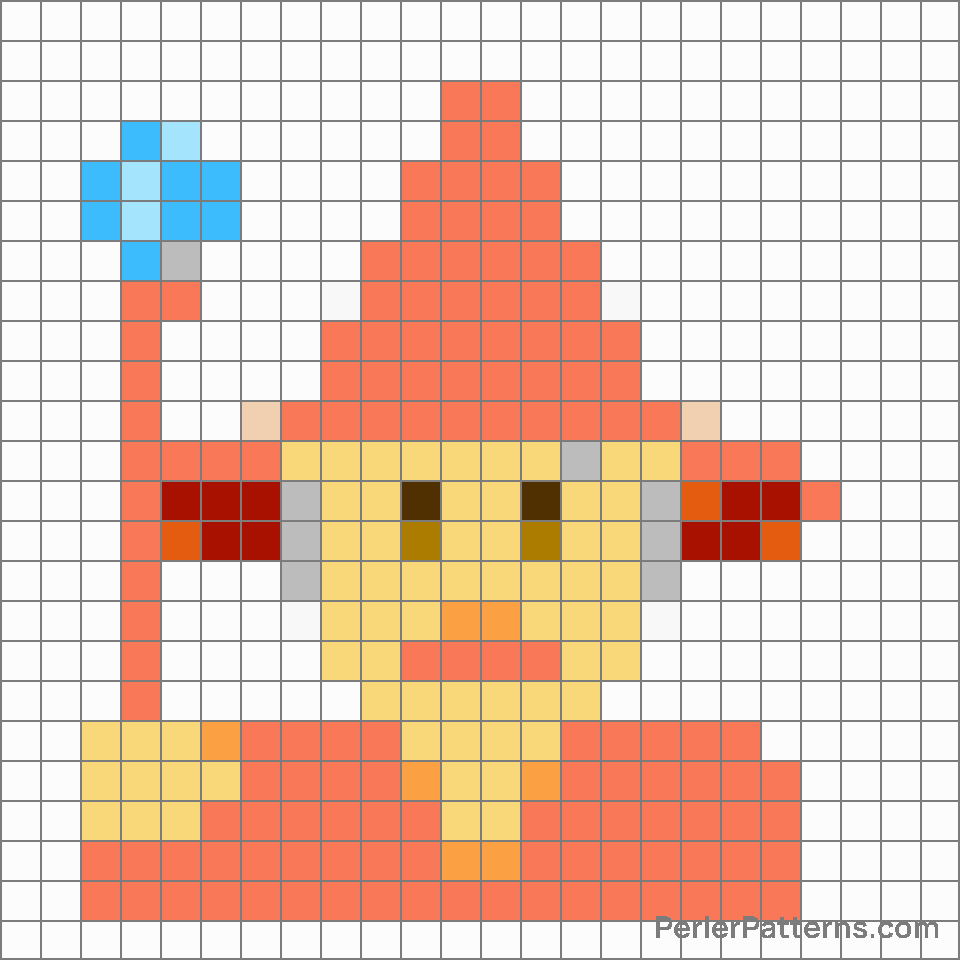
Mage emoji Perler Pattern
The emoji 🧙 portrays a whimsical and mystical image of a wizard. It features a figure with a long flowing robe, a pointed hat, and a magical staff. With a wise and enigmatic expression on its face, the emoji exudes an air of ancient knowledge and powerful sorcery. The detailed beard and wrinkled appearance accentuate the image's wisdom and experience, making it a captivating symbol of the mystical realm. It conveys a sense of wonder, imagination, and the supernatural, evoking mythical stories and enchanting worlds. Given its representation of a wizard, the 🧙 emoji can be used to convey a wide array of meanings and intentions. One common use of this emoji is to express a sense of magic or enchantment. It can be employed to describe situations or experiences that feel extraordinary, otherworldly, or spellbinding. For example, one might use this emoji to portray the thrilling aura of a magical sunset or to express amazement at a breathtaking performance. Additionally, the 🧙 emoji can signify wisdom, knowledge, or expertise. It can be employed when discussing a subject matter in which someone possesses profound understanding or to acknowledge someone's wise advice. Overall, the emoji serves as a versatile symbol that resonates with the mysteries and wonders of the supernatural world and the realms of wisdom and expertise.
Instructions
Start making the "Mage" emoji Perler Pattern by choosing one of the patterns below, depending on the size of pattern you are looking for, and the outline style. Then, click on the "Print" button to the right to print out the pattern, or click on the image itself to open it in a new window.
Once you've printed the pattern, follow the instructions here to make your own Perler bead creation!
Related Patterns

Woman superhero

Man zombie

Elf

Mermaid

Man fairy

Woman genie

Man vampire

Mx claus

Man genie

Fairy

Superhero

Santa claus
More from People & Body
About PerlerPatterns.com
PerlerPatterns.com is the world's largest (and free) site for Perler Beads, Fuse Beads and Hama Beads patterns and designs.
Learn how to create your own Perler Bead patterns by click on the button below:
Instructions


