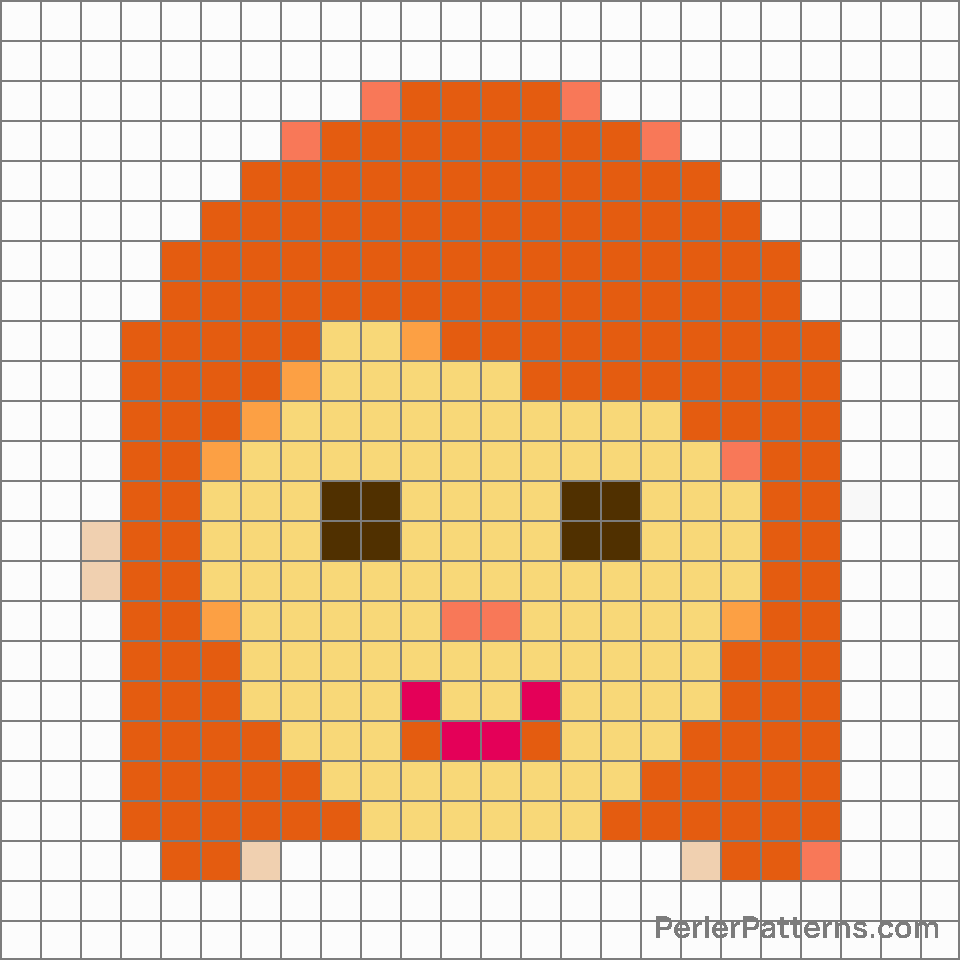
Woman: red hair emoji Perler Pattern
The emoji 👩🦰 depicts a female face with red hair. The intricately designed image shows a woman's head, hair flowing down on either side of her face. The hair is fiery red, adding a vibrant touch to her appearance. The face has a warm and friendly expression, with two eyes looking straight ahead, a small nose, and a reasonably wide smile. The emoji also highlights the unique feature of red hair, symbolizing individuality, distinctiveness, and a touch of flamboyance. 👩🦰 can be used in various contexts, reflecting both personal identity and lightheartedness. This emoji is frequently employed to represent individuals who have or admire red hair, emphasizing the characteristic vividness of their appearance. It can be shared to celebrate and appreciate people's unique features, allowing them to feel acknowledged and special. Moreover, 👩🦰 might also be used playfully, as a representation of fiery personalities or to describe situations or stories where red hair plays a notable role. For instance, it could be used in contexts related to praising fictional characters with red hair or simply to express personal fascination with this particular hair color. Overall, this emoji serves as a versatile and engaging symbol to convey both personal expression and admiration for the beauty of red hair.
Instructions
Start making the "Woman: red hair" emoji Perler Pattern by choosing one of the patterns below, depending on the size of pattern you are looking for, and the outline style. Then, click on the "Print" button to the right to print out the pattern, or click on the image itself to open it in a new window.
Once you've printed the pattern, follow the instructions here to make your own Perler bead creation!
Related Patterns

Man: blond hair

Older person

Person: blond hair

Woman: blond hair

Person: bald

Man: white hair

Woman: red hair

Person

Girl

Woman

Woman: white hair

Person: red hair
More from People & Body
About PerlerPatterns.com
PerlerPatterns.com is the world's largest (and free) site for Perler Beads, Fuse Beads and Hama Beads patterns and designs.
Learn how to create your own Perler Bead patterns by click on the button below:
Instructions


