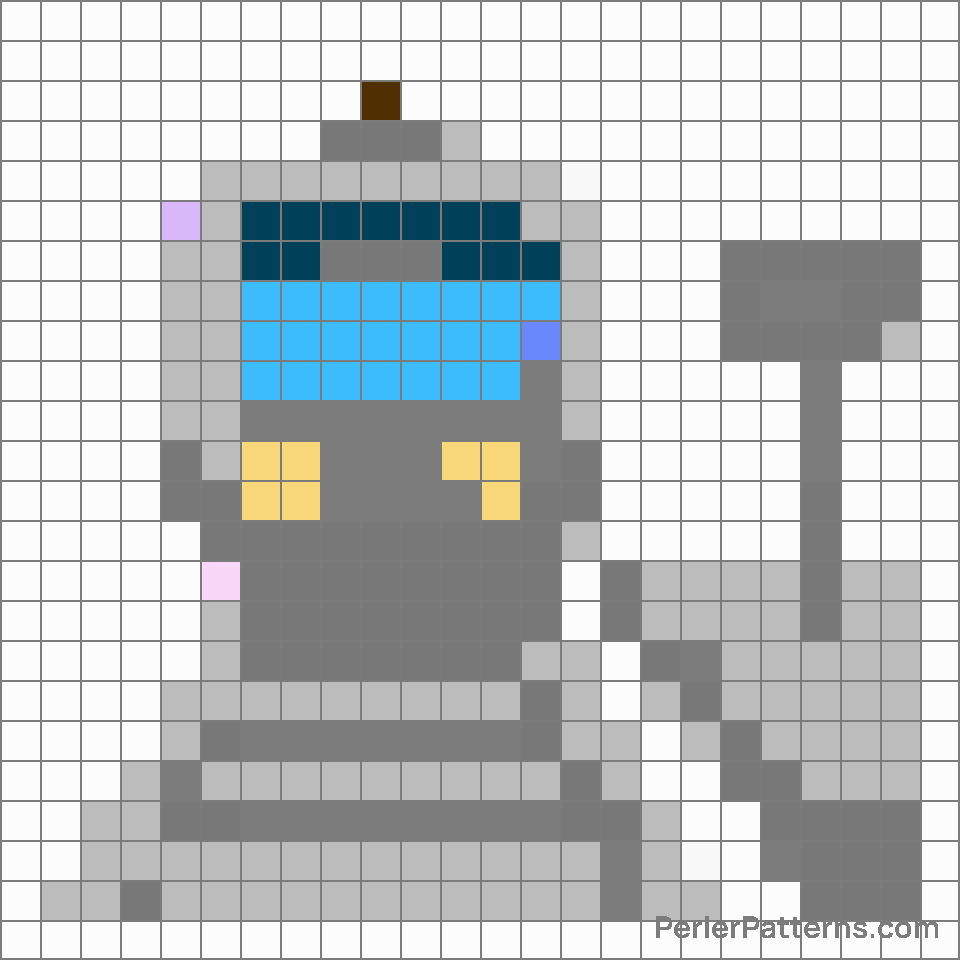
Station emoji Perler Pattern
The emoji 🚉 depicts a train station, replete with tracks and a platform. The image showcases a stylized building reminiscent of an old-fashioned train station, symbolized by its peaked roof and arched windows. The tracks beneath it signify the connectivity and motion associated with trains and travel. The platform serves as a waiting area for passengers, providing a sense of anticipation and adventure. Overall, this emoji evokes the ambiance of railway transportation, conjuring up images of bustling stations and the vibrant energy of people embarking on journeys. This emoji can be used in various contexts to convey different meanings. It may represent travel plans or trips, expressing excitement, readiness, or nostalgia tied to exploring new destinations. When discussing public transportation or commuting, the 🚉 emoji helps convey the idea of train travel specifically. Additionally, it can imply a sense of waiting or anticipation, similar to standing on a platform hoping for the arrival of a train. As a visual metaphor, one can use this emoji to symbolize progress, movement, or the reaching of a destination. Whether sharing travel plans, reminiscing about past journeys, or simply illustrating anticipation, the 🚉 emoji contributes evocative imagery related to trains and the joy of travel.
Instructions
Start making the "Station" emoji Perler Pattern by choosing one of the patterns below, depending on the size of pattern you are looking for, and the outline style. Then, click on the "Print" button to the right to print out the pattern, or click on the image itself to open it in a new window.
Once you've printed the pattern, follow the instructions here to make your own Perler bead creation!
Related Patterns

Fire engine

Motorway

Trolleybus

Kick scooter

Bus stop

Monorail

Bullet train

High-speed train

Auto rickshaw

Roller skate

Construction

Oncoming taxi
More from Travel & Places
About PerlerPatterns.com
PerlerPatterns.com is the world's largest (and free) site for Perler Beads, Fuse Beads and Hama Beads patterns and designs.
Learn how to create your own Perler Bead patterns by click on the button below:
Instructions


