
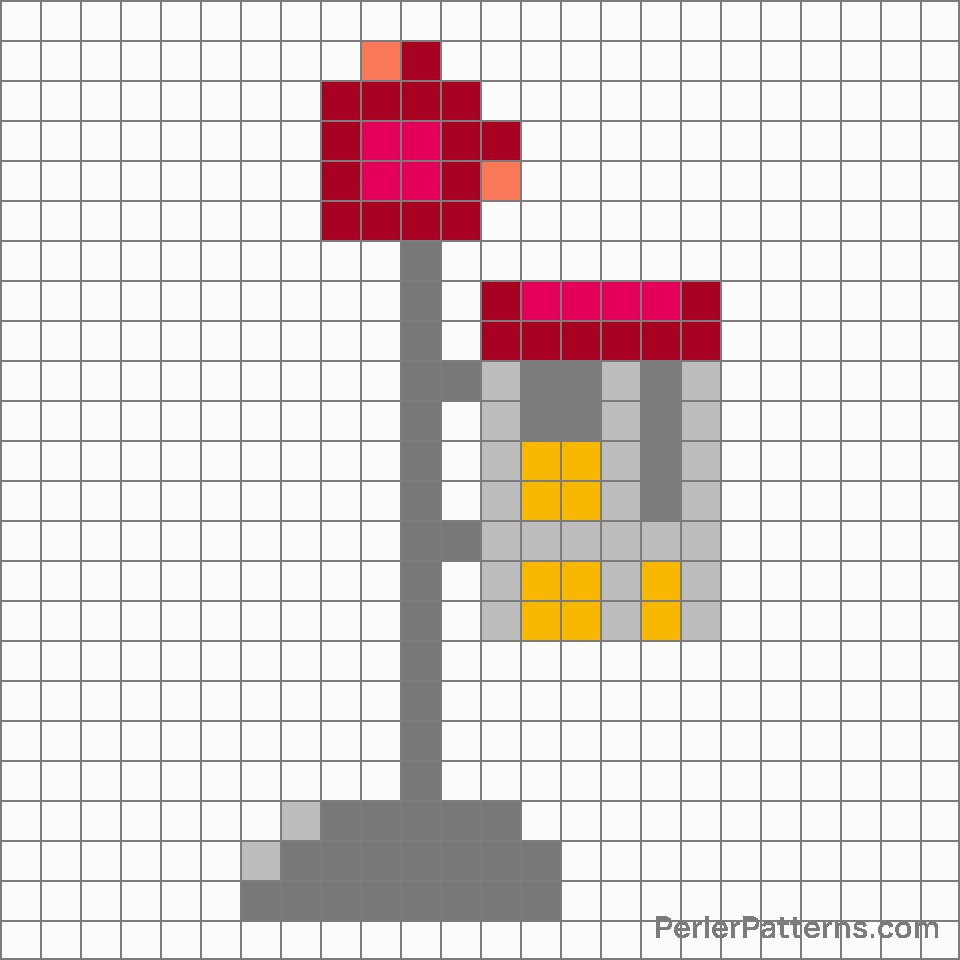
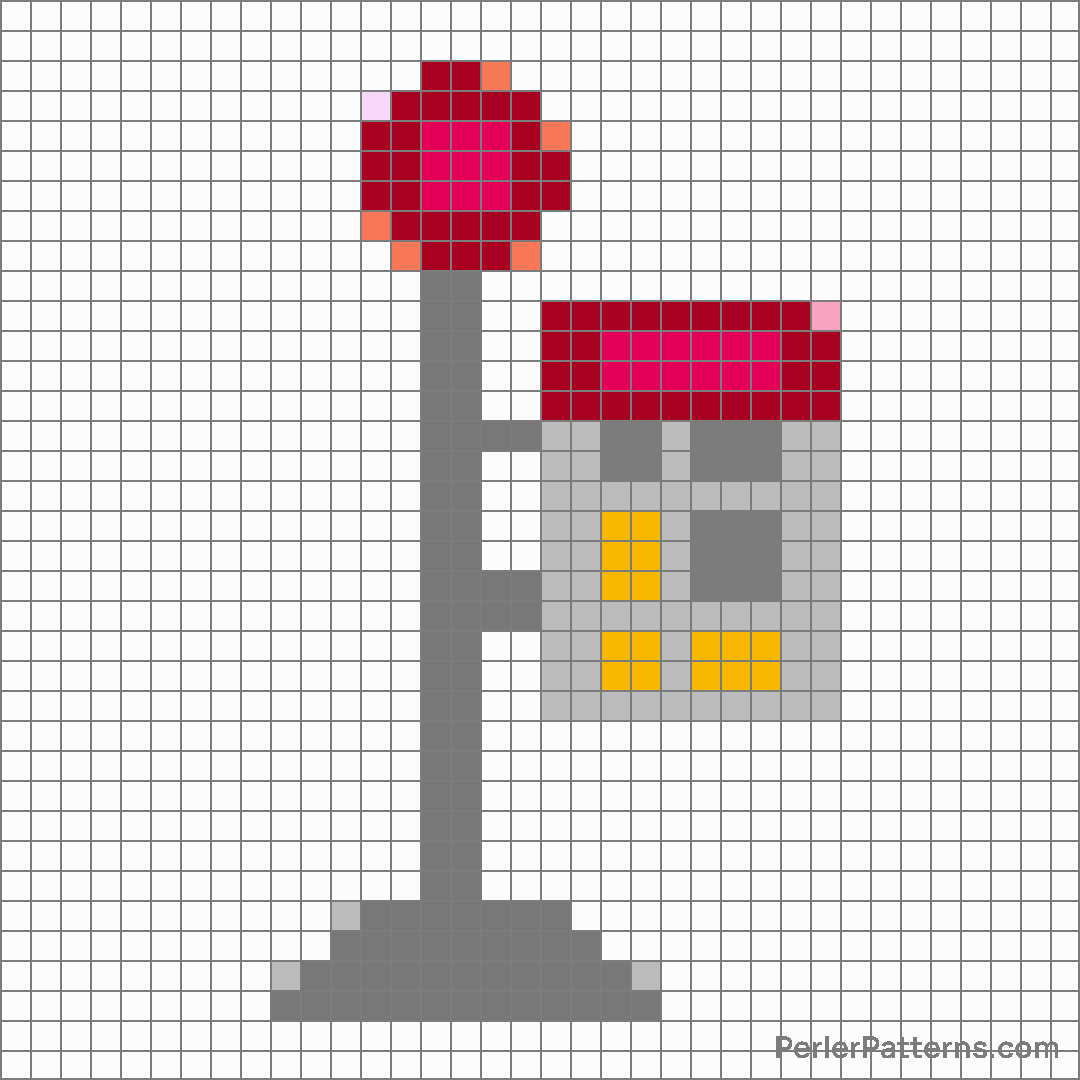
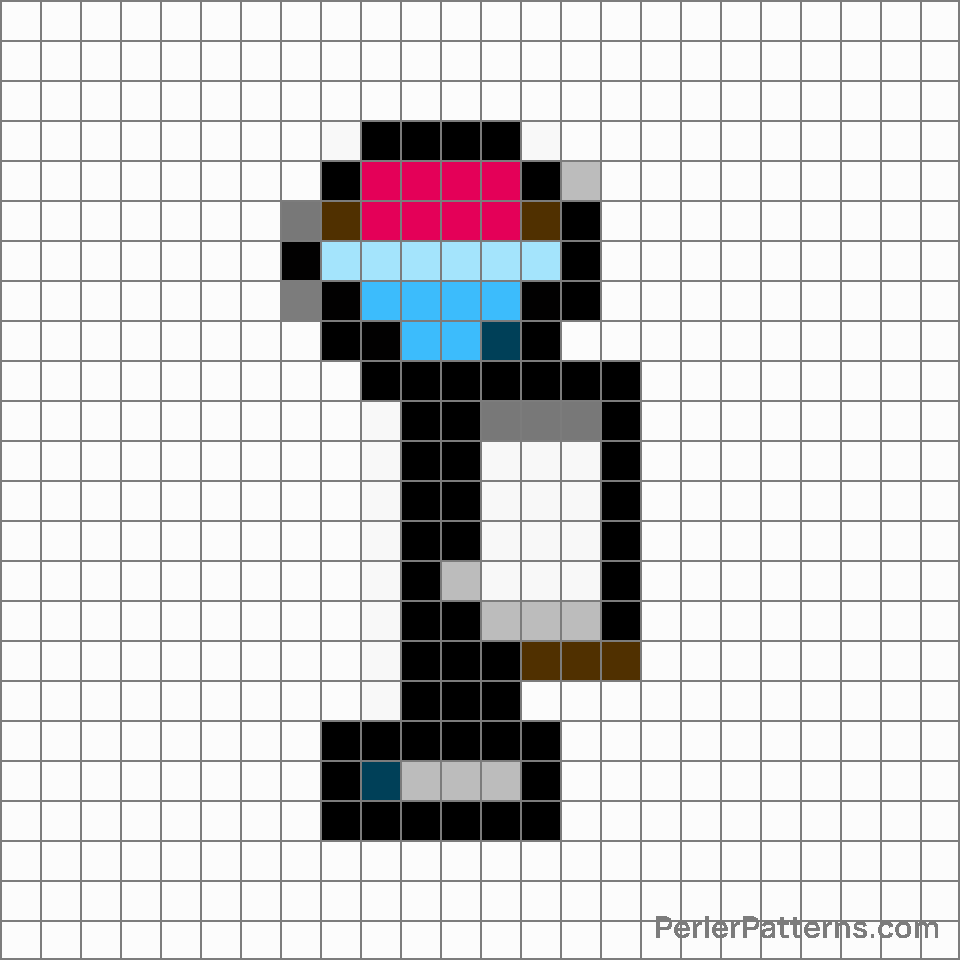
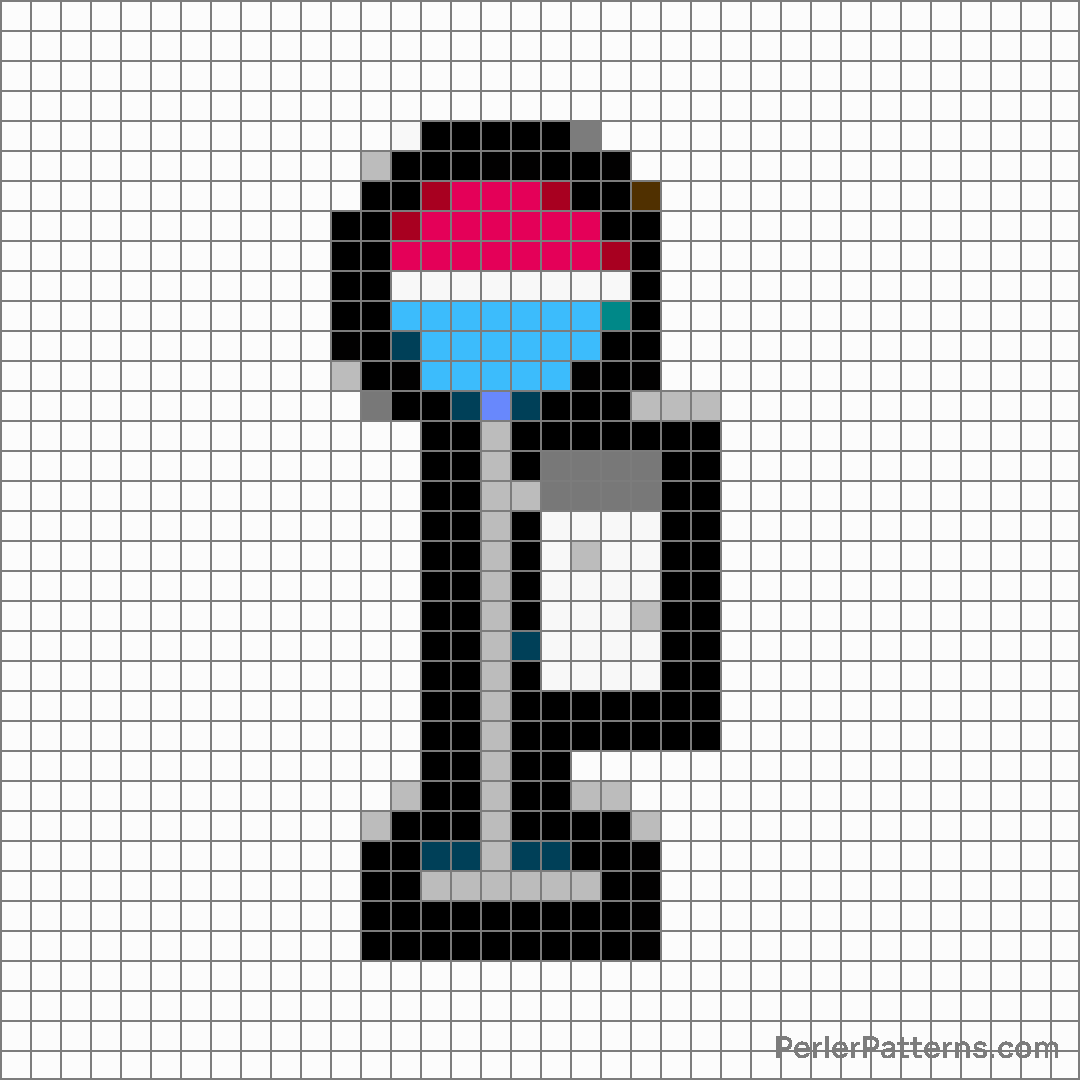
Bus stop emoji Perler Pattern
The emoji 🚏 depicts a bus stop, recognizable by its distinctive signpost. This symbol conveys a sense of public transportation and waiting, representing a designated spot where vehicles come to a halt to pick up or drop off passengers. Its clear depiction of a bus stop sign allows for quick recognition, making it an effective representation of urban infrastructure. The emoji's vibrant colors, including a white sign with bold black letters and a bright red or orange background, contribute to its visibility and clarity. As an emoji, 🚏 can be used to convey the concept of waiting or transportation. One possible use is to express anticipation or impatience, particularly in situations where someone is eagerly waiting for a specific event or moment. It can also be employed to show an understanding of public transportation systems, referring to one's familiarity with bus stops or commuting experiences. Additionally, the emoji may be utilized to indicate a suggestion to meet at a bus stop or to signal the beginning or end of a journey. Overall, 🚏 serves as a versatile digital representation of a bus stop, allowing users to express various related concepts in conversations and texts.
Instructions
Start making the "Bus stop" emoji Perler Pattern by choosing one of the patterns below, depending on the size of pattern you are looking for, and the outline style. Then, click on the "Print" button to the right to print out the pattern, or click on the image itself to open it in a new window.
Once you've printed the pattern, follow the instructions here to make your own Perler bead creation!


Related Patterns

Oncoming automobile

Bus

Tram

Pickup truck

Locomotive

Train

Auto rickshaw
Bus stop

Motorized wheelchair

Roller skate

Oncoming bus

Railway car
More from Travel & Places


About PerlerPatterns.com
PerlerPatterns.com is the world's largest (and free) site for Perler Beads, Fuse Beads and Hama Beads patterns and designs.
Learn how to create your own Perler Bead patterns by click on the button below:
Instructions


