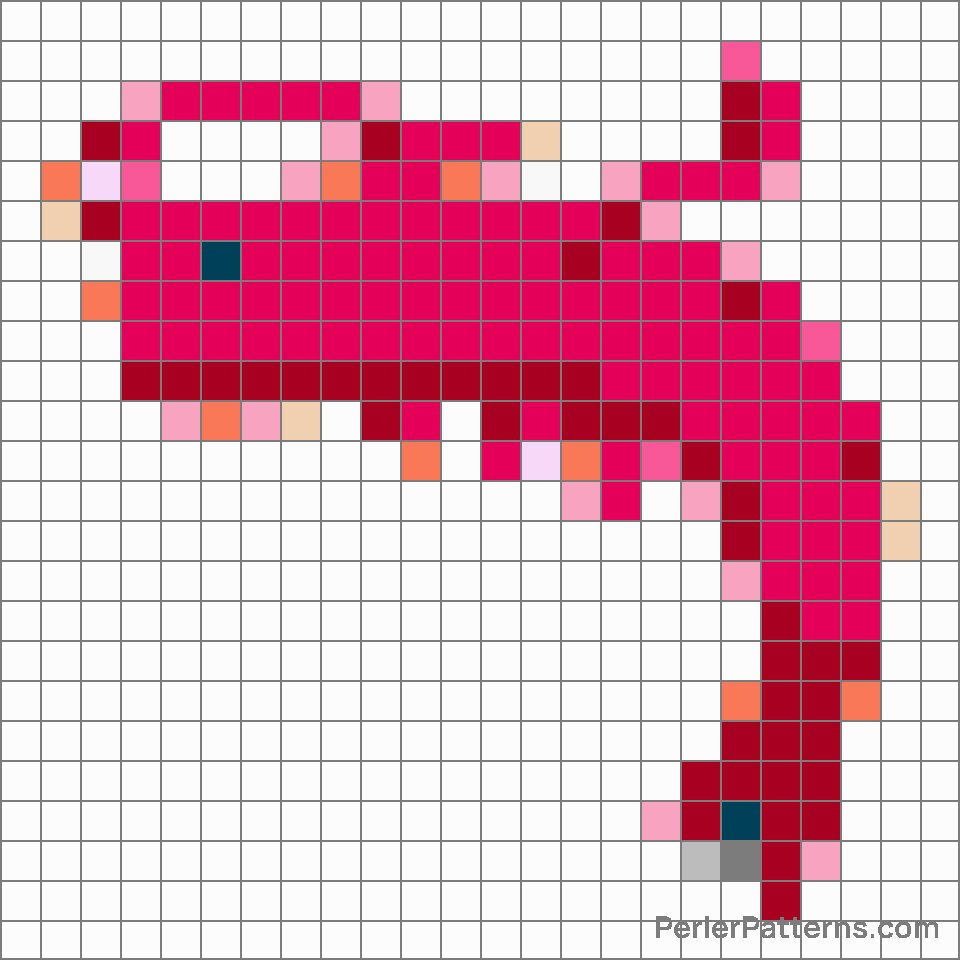
Shrimp emoji Perler Pattern
The emoji 🦐 depicts a small, yet detailed representation of a shrimp. It showcases the distinct features of this crustacean, with its elongated body and curvy tail. The emoji's vibrant coloration and intricate design bring this tiny sea creature to life, capturing the essence of its unique appearance. The details, such as the delicate legs and antennae, contribute to the authenticity and recognition of the shrimp emoji. Overall, it conveys a sense of playfulness and whimsy, presenting users with an engaging visual representation of this beloved marine animal. Given its portrayal as a shrimp, this emoji can be utilized in various contexts. Primarily, it can denote or reference seafood, highlighting its culinary use. When sharing a picture of a delicious shrimp dish or discussing seafood options, the shrimp emoji becomes an excellent choice for conveying such cravings or expressing a desire for delectable food. Furthermore, due to its association with the ocean and aquatic environments, this emoji can also be employed to indicate beach outings, marine life conservation discussions, ocean-themed events, or simply an expression of love for the sea. Additionally, its quirky and adorable appearance makes it fitting for lighthearted conversations, adding a touch of fun and charm to casual exchanges among friends and family. So go ahead, embrace the shrimp emoji, and let it infuse your messages with a dash of aquatic joy and seafood-filled delights. 🦐
Instructions
Start making the "Shrimp" emoji Perler Pattern by choosing one of the patterns below, depending on the size of pattern you are looking for, and the outline style. Then, click on the "Print" button to the right to print out the pattern, or click on the image itself to open it in a new window.
Once you've printed the pattern, follow the instructions here to make your own Perler bead creation!
Related Patterns
More from Food & Drink
About PerlerPatterns.com
PerlerPatterns.com is the world's largest (and free) site for Perler Beads, Fuse Beads and Hama Beads patterns and designs.
Learn how to create your own Perler Bead patterns by click on the button below:
Instructions


