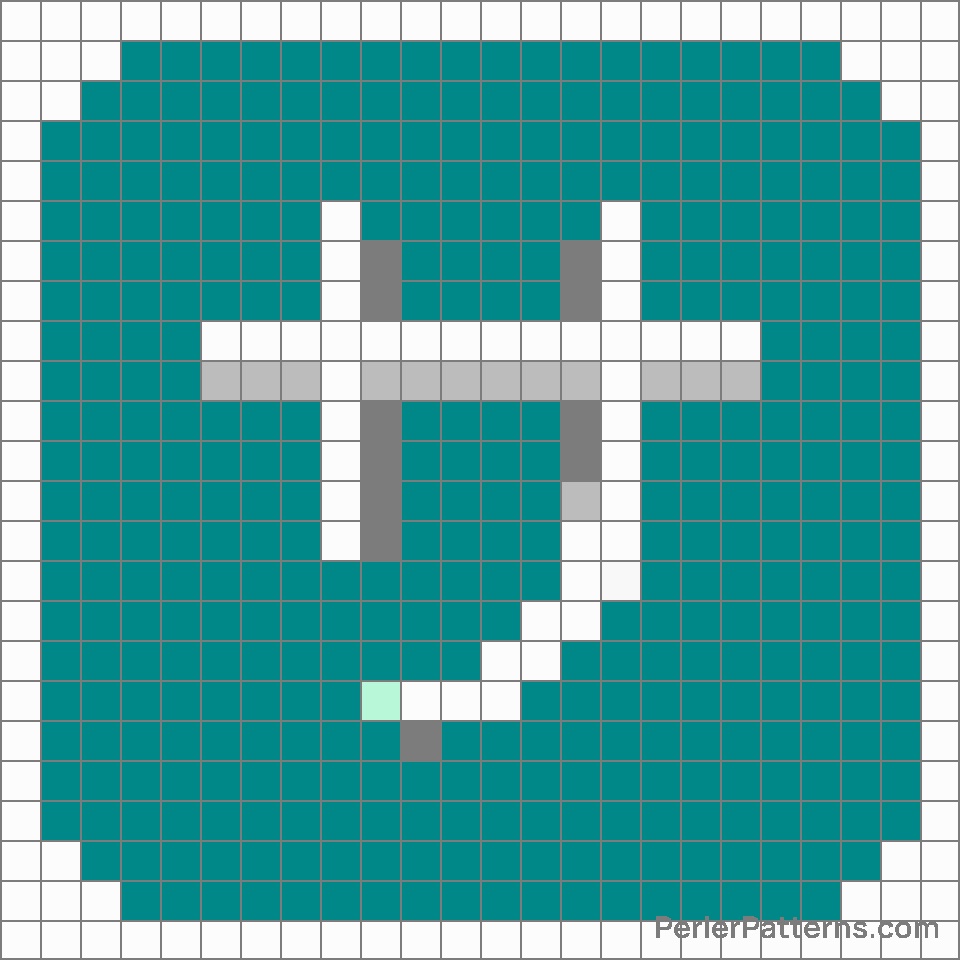
Japanese “service charge” button emoji Perler Pattern
The emoji 🈂️ depicts a bold, eye-catching symbol resembling a square with rounded edges, adorned by two horizontal lines on its top and bottom. Positioned within the square is a prominent red character, typically recognized as a Japanese katakana symbol for "non", meaning "not" or "no" in English. The katakana character itself is presented harmoniously in a vibrant blue hue. The combination of the intense red and striking blue colors within the square creates a visually stimulating contrast, adding to the emoji's impact. This emoji is commonly used to convey negation or denial. Its straightforward design and uncomplicated nature make it an effective tool for expressing disagreement, refusal, or simply stating the absence or negation of something. When engaged in written conversations where words alone may not sufficiently convey conviction or clarity, this emoji can serve as a concise and emphatic way to communicate a strong negative response or refusal. Moreover, it can be utilized to shut down false rumors or misconceptions by firmly stating "no" or "not true". In essence, 🈂️ enables users to avoid prolonged or ambiguous discussions, reinforcing their position with a simple yet powerful visual statement.
Instructions
Start making the "Japanese “service charge” button" emoji Perler Pattern by choosing one of the patterns below, depending on the size of pattern you are looking for, and the outline style. Then, click on the "Print" button to the right to print out the pattern, or click on the image itself to open it in a new window.
Once you've printed the pattern, follow the instructions here to make your own Perler bead creation!
Related Patterns

Japanese “passing grade” button

Japanese “service charge” button

Japanese “vacancy” button

Ok button

Japanese “free of charge” button

Japanese “congratulations” button

Id button

P button

Information

Japanese “prohibited” button

Japanese “application” button

Japanese “discount” button
More from Symbols
About PerlerPatterns.com
PerlerPatterns.com is the world's largest (and free) site for Perler Beads, Fuse Beads and Hama Beads patterns and designs.
Learn how to create your own Perler Bead patterns by click on the button below:
Instructions


