
Japanese “acceptable” button emoji Perler Pattern
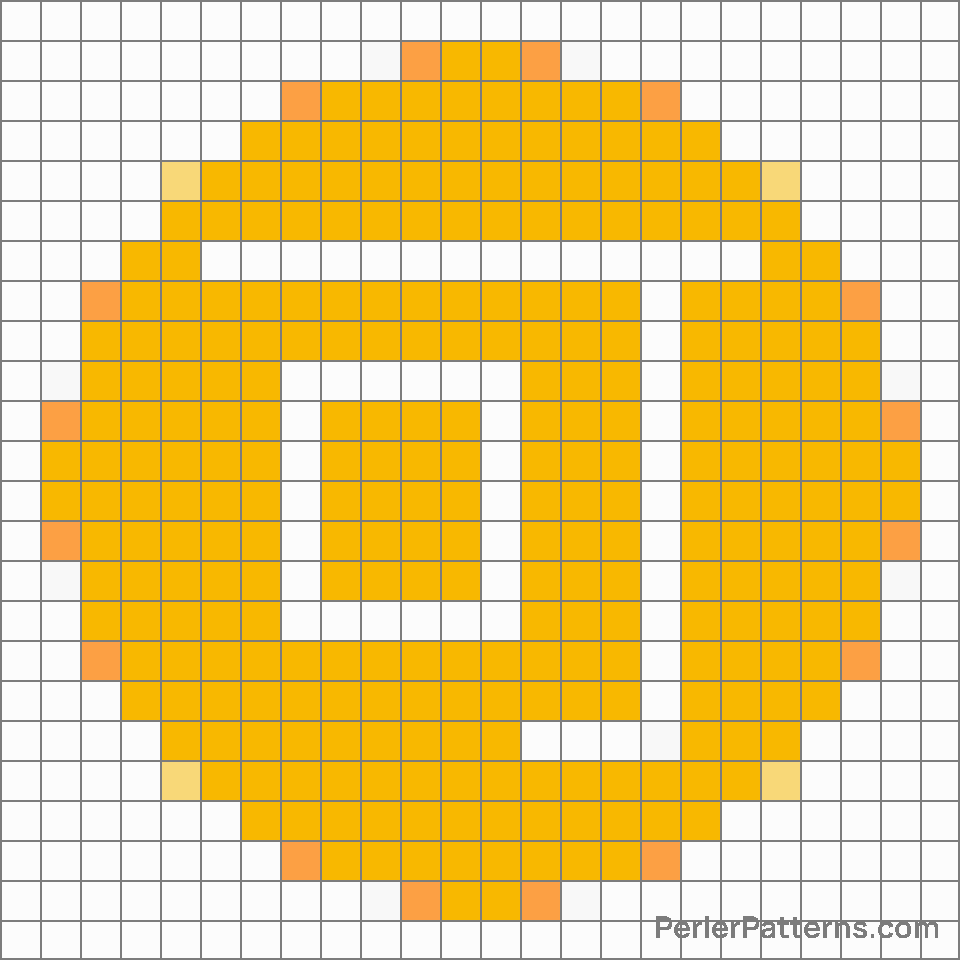
The emoji 🉑 depicts a Japanese "reserved" button written in kanji, featuring the character meaning "acceptable" or "okay". Its appearance is that of a square shape composed of two vertical lines forming the outer borders, with an additional horizontal line crossing them near the top. The inner space is filled with the kanji character, meticulously inscribed in a graceful style. The overall design exudes a sense of sophistication and authenticity, reflecting the Japanese language and culture. This emoji may be employed in various contexts to express agreement, acceptance, or compliance. When engaged in a conversation or decision-making process where consensus is sought, individuals can utilize 🉑 to convey their approval or consent. For instance, if coordinating plans with friends, indicating consent to a proposed activity could be done by responding with this emoji. It serves as a concise and visually engaging way to communicate understanding and agreement without the need for extensive texts or explanations. The elegance of 🉑 lends a touch of formality to the message, suggesting a respectful affirmation or an acceptance of the status quo.
Instructions
Start making the "Japanese “acceptable” button" emoji Perler Pattern by choosing one of the patterns below, depending on the size of pattern you are looking for, and the outline style. Then, click on the "Print" button to the right to print out the pattern, or click on the image itself to open it in a new window.
Once you've printed the pattern, follow the instructions here to make your own Perler bead creation!


Related Patterns

Ng button

Sos button

Free button

Japanese “free of charge” button
Japanese “acceptable” button

Japanese “passing grade” button

B button (blood type)

Japanese “application” button

Japanese “prohibited” button

Japanese “bargain” button

Input latin lowercase

O button (blood type)
More from Symbols


About PerlerPatterns.com
PerlerPatterns.com is the world's largest (and free) site for Perler Beads, Fuse Beads and Hama Beads patterns and designs.
Learn how to create your own Perler Bead patterns by click on the button below:
Instructions


