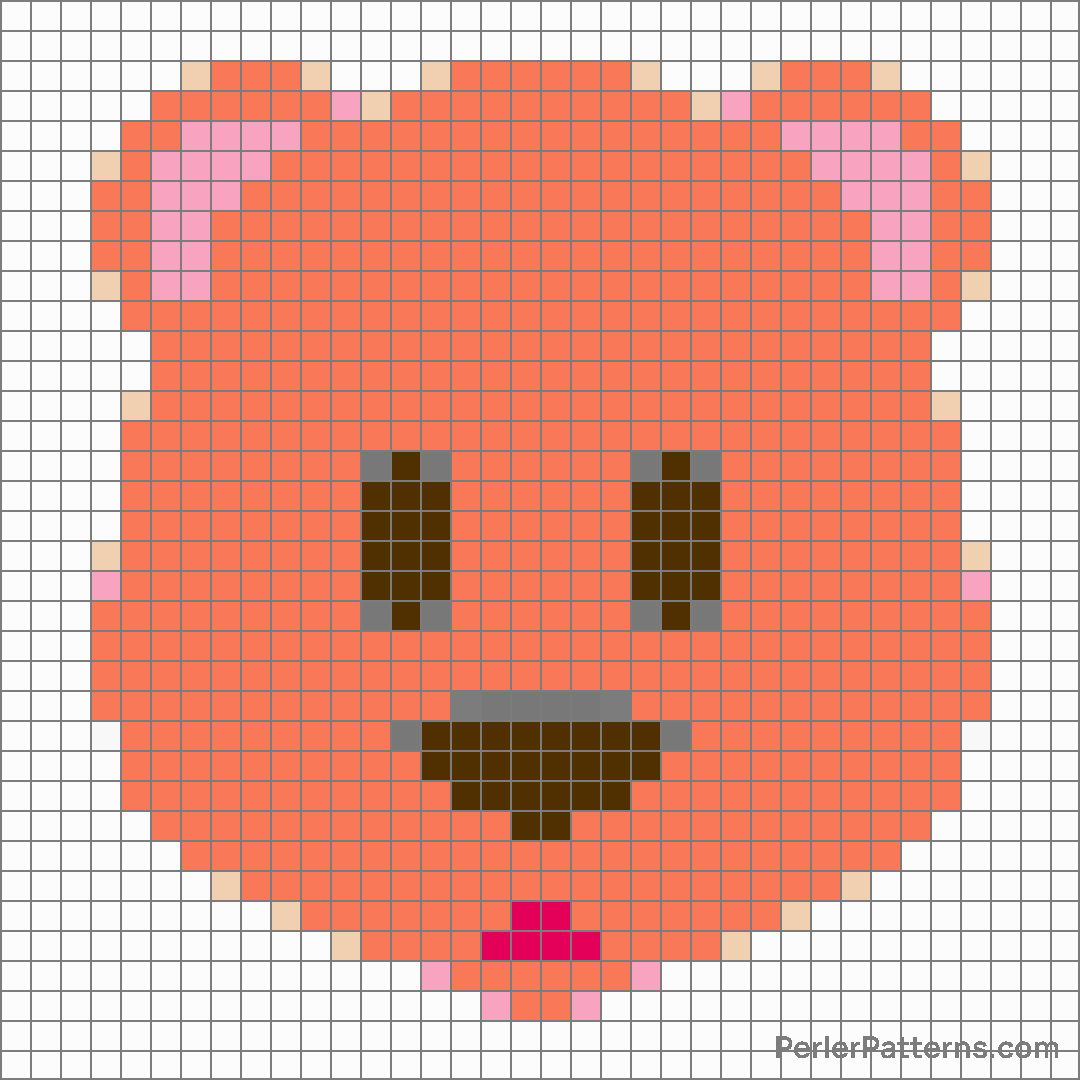
Bear emoji Perler Pattern
The emoji 🐻 portrays a beloved bear, known for its cuddly appearance and endearing nature. This particular bear emoji stands out with its round face, small eyes, and prominent ears. Its coloration varies across platforms, ranging from a warm, honey-like brown to a lighter, beige-like shade. Its overall design exudes a sense of coziness and comfort, making it instantly recognizable and relatable to many. Given its representation, this emoji can be used in various contexts. It often symbolizes the qualities commonly associated with bears, such as strength, resilience, and protectiveness. People may use this emoji to convey a sense of confidence or to describe someone who possesses these admirable traits. Moreover, the bear emoji can also be employed to express affection in a cute and playful manner. Many utilize it to convey warm feelings towards loved ones, friends, or even in group chats to emphasize a sense of togetherness and unity. In summary, the 🐻 bear emoji serves as a representation of both strength and affection. Its charm lies in its ability to evoke feelings of warmth and security while also embodying the powerful image of these majestic creatures. Consequently, this emoji can be utilized to express various emotions, from admiration and love to the desire for protection or simply to add a touch of cuteness to a conversation.
Instructions
Start making the "Bear" emoji Perler Pattern by choosing one of the patterns below, depending on the size of pattern you are looking for, and the outline style. Then, click on the "Print" button to the right to print out the pattern, or click on the image itself to open it in a new window.
Once you've printed the pattern, follow the instructions here to make your own Perler bead creation!
Related Patterns

Rabbit

Poodle

Horse face

Cat face

Bison

Monkey face

Bear

Raccoon

Horse

Mouse

Rabbit face

Water buffalo
More from Animals & Nature
About PerlerPatterns.com
PerlerPatterns.com is the world's largest (and free) site for Perler Beads, Fuse Beads and Hama Beads patterns and designs.
Learn how to create your own Perler Bead patterns by click on the button below:
Instructions


