Paperclip emoji Perler Pattern
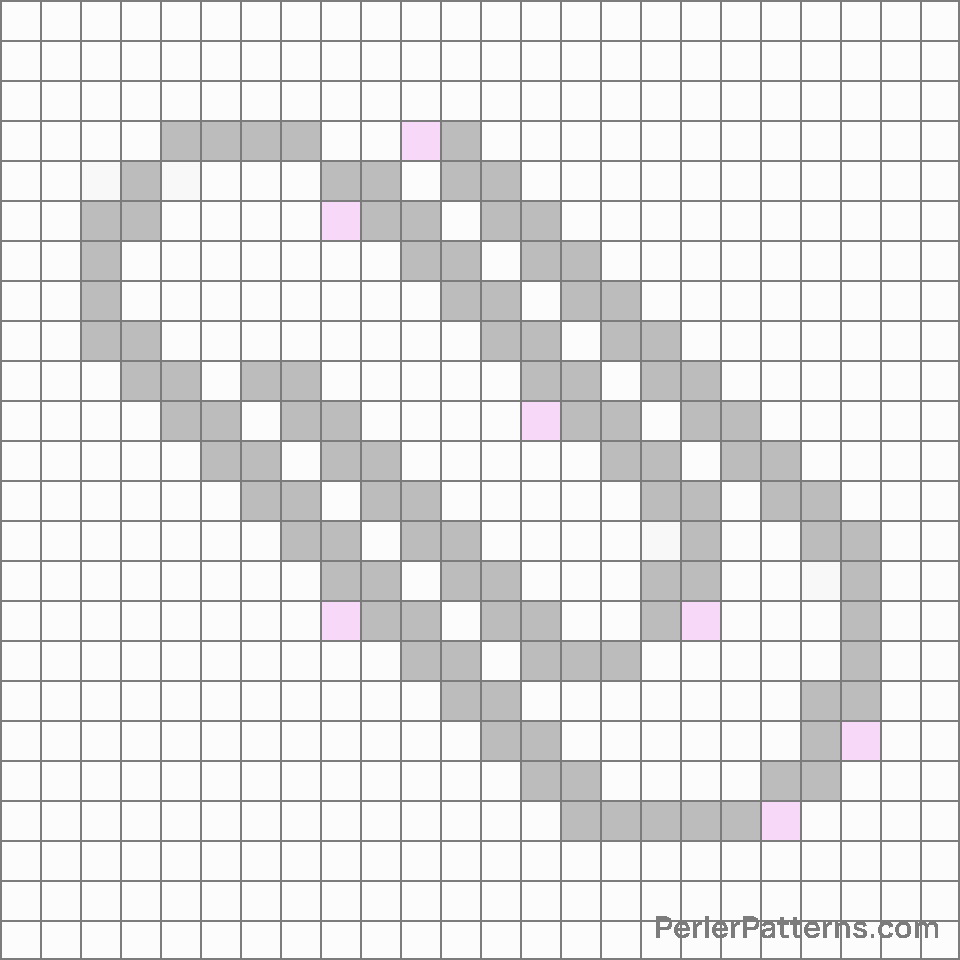
The emoji 📎 depicts a paperclip, an indispensable tool used to secure multiple sheets of paper together. This emoji showcases a small, silver clip with two curved prongs and a loop in the center. It accurately captures the simplicity and effectiveness of this commonly recognized item. The precise details, such as the bend and texture of the prongs, add depth to its representation, making it instantly recognizable to users. Given its visual representation, the emoji 📎 can be used in various contexts. One common usage is to indicate the act of attaching or referring to something. It can be employed when sharing an article or document that is relevant to a conversation, or when sending information that is connected to a particular topic. Similarly, it can symbolize the joining of ideas, suggesting that different concepts or pieces of information are being brought together. Furthermore, it can be used metaphorically, representing the idea of connectivity or unity between people or entities. In essence, the versatility of the emoji 📎 enables its use in situations where gathering or connecting information is necessary. Its application extends beyond its literal meaning, allowing users to convey the concept of attachment, relevance, and cohesion within various communication platforms.
Instructions
Start making the "Paperclip" emoji Perler Pattern by choosing one of the patterns below, depending on the size of pattern you are looking for, and the outline style. Then, click on the "Print" button to the right to print out the pattern, or click on the image itself to open it in a new window.
Once you've printed the pattern, follow the instructions here to make your own Perler bead creation!
Related Patterns

Card file box

Briefcase

Spiral calendar

Spiral notepad

Paperclip

Straight ruler

Linked paperclips

Chart decreasing

File cabinet

File folder

Bar chart

Round pushpin
More from Objects
About PerlerPatterns.com
PerlerPatterns.com is the world's largest (and free) site for Perler Beads, Fuse Beads and Hama Beads patterns and designs.
Learn how to create your own Perler Bead patterns by click on the button below:
Instructions


