
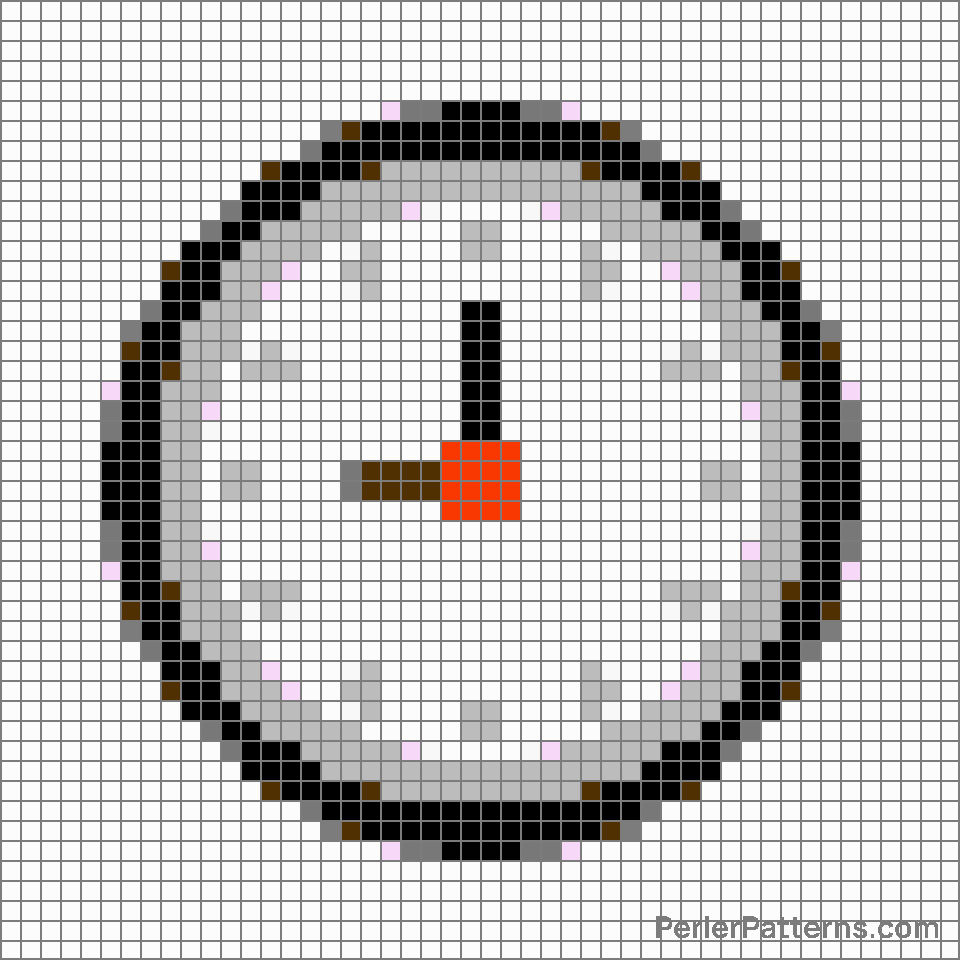
Nine o’clock emoji Perler Pattern
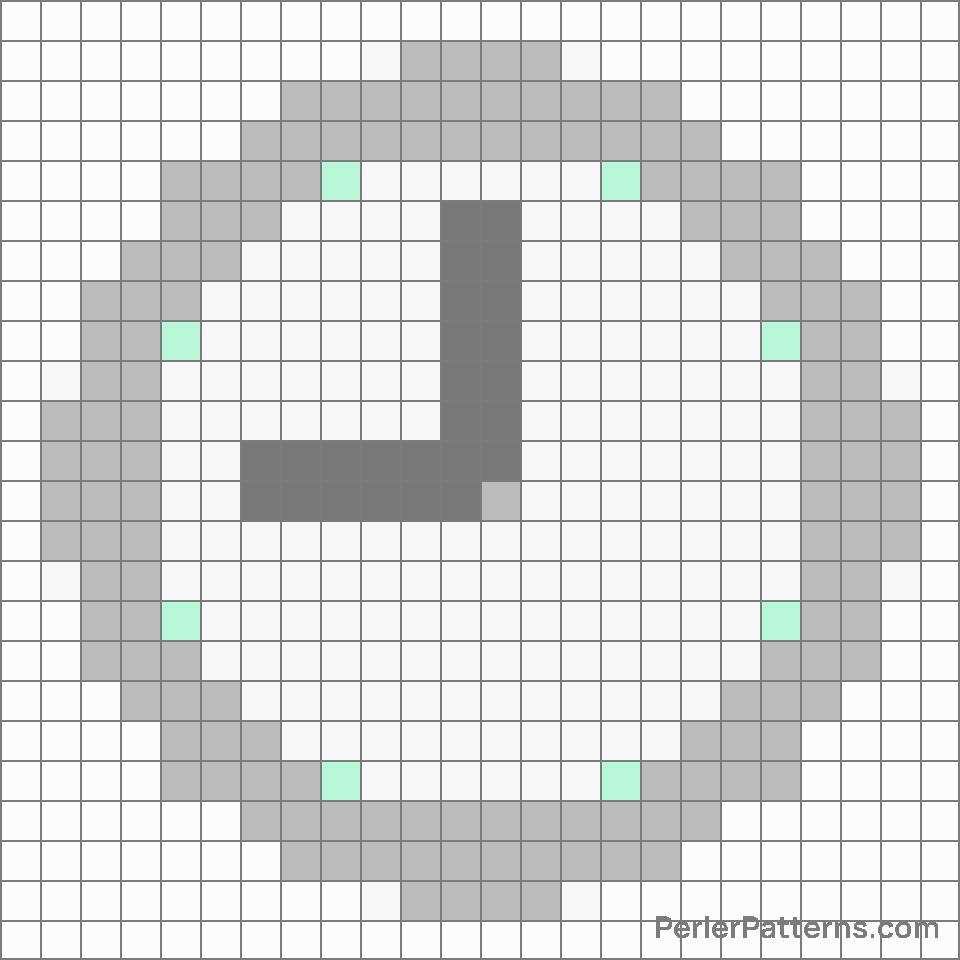
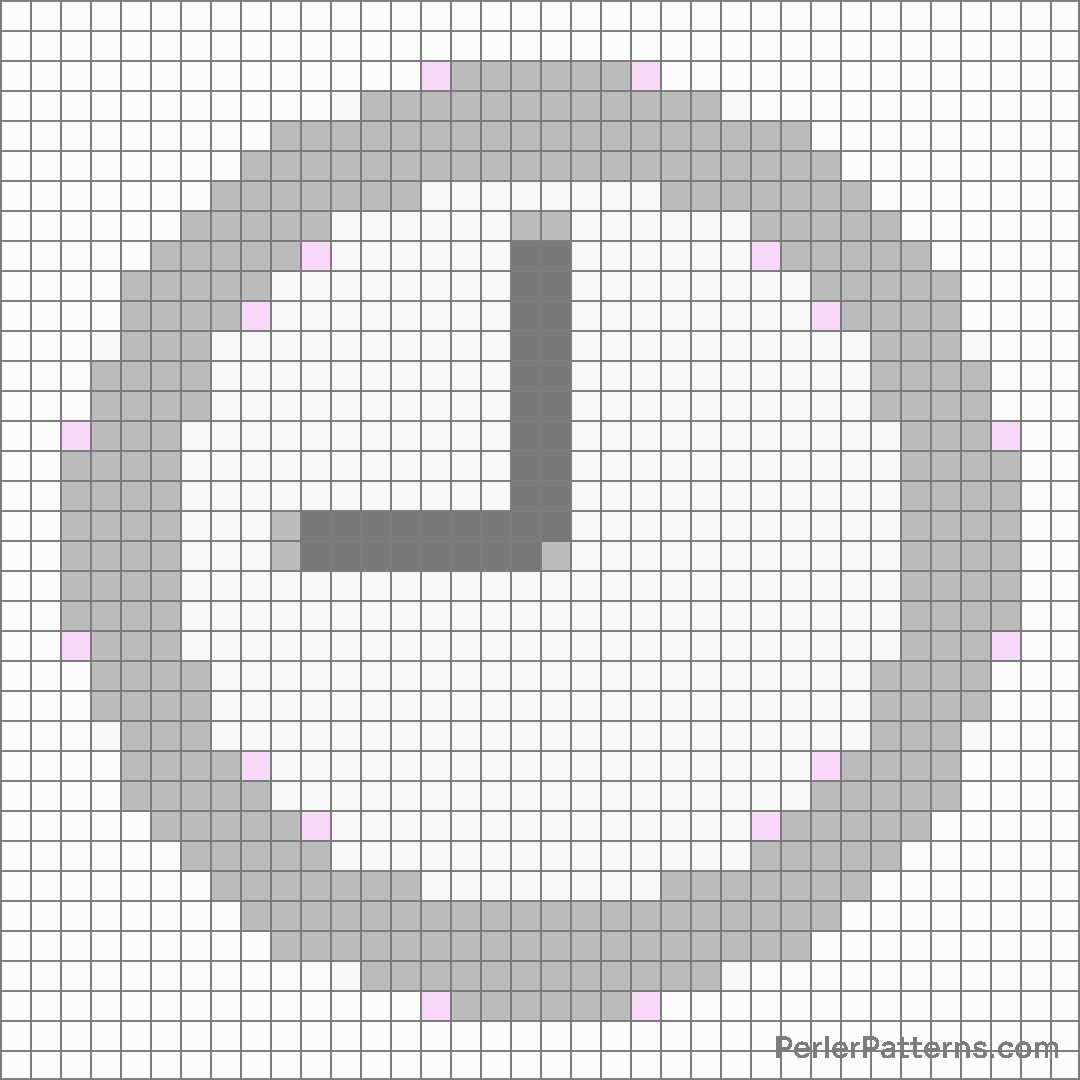
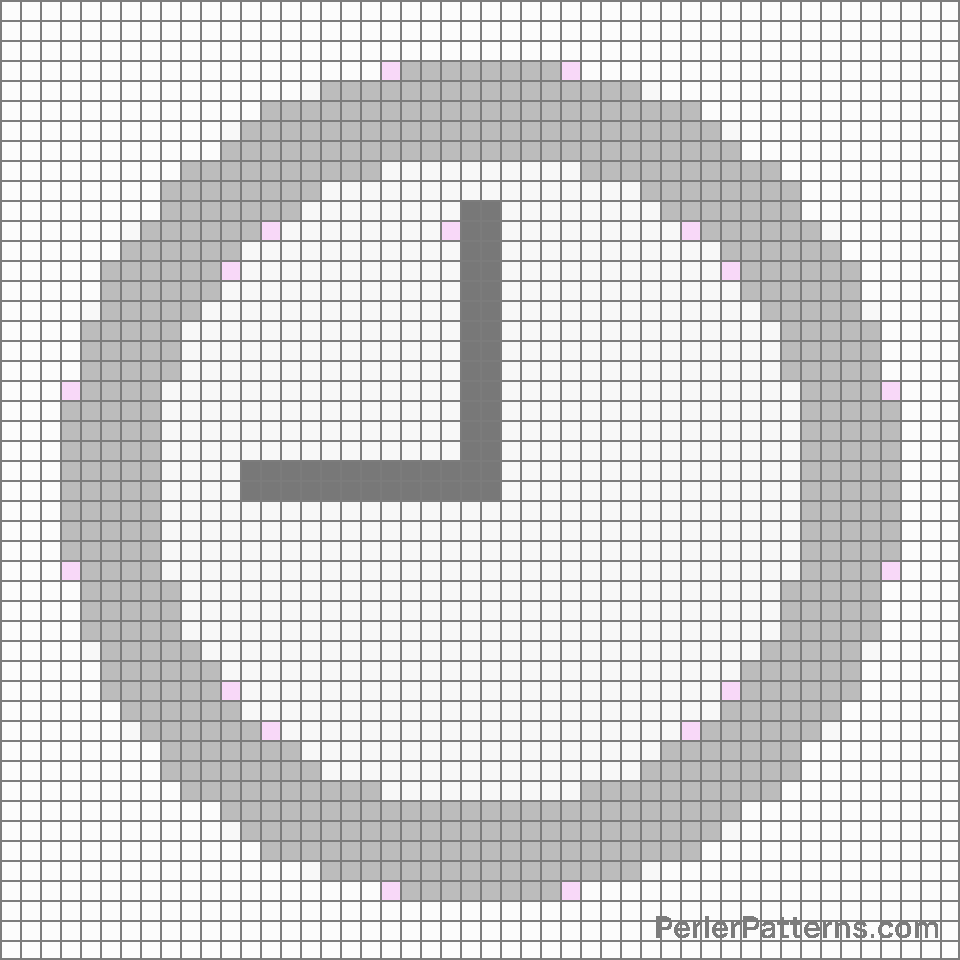
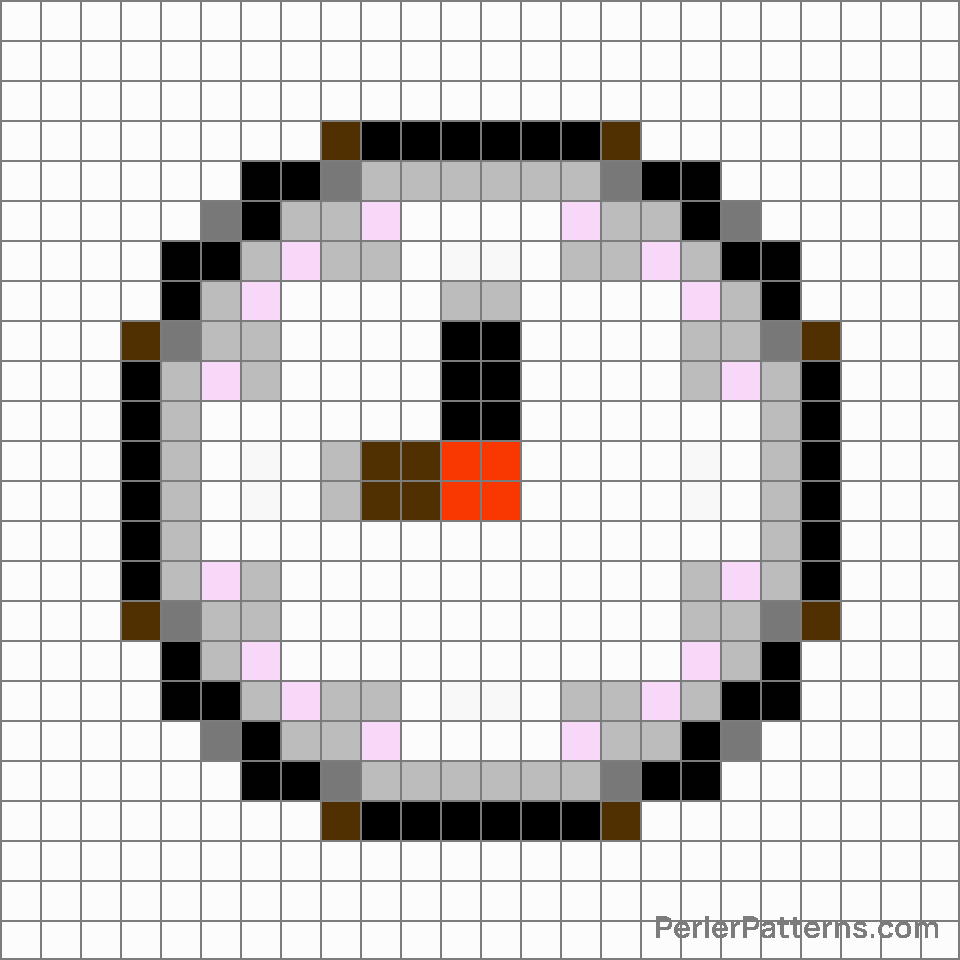
The emoji 🕘 depicts a clock showing 9 o'clock. It features a circular shape with twelve equally divided segments, denoting the hours, and two hands indicating the current time. The longer hand points towards the number nine on the clock, while the shorter hand indicates the exact minute. The emoji is usually portrayed in a traditional analog style, with black or gray outlines against a white or light-colored background. It conveys a precise moment in time, specifically highlighting the ninth hour of the day. Based on common usage patterns, this emoji can be employed in various contexts. Its primary purpose is to indicate time or denote a specific hour of the day, be it an appointment, a designated meeting time, or any other time-sensitive event. For instance, if someone asks you about your availability for a meeting, you can respond with this emoji to signify that you are free at 9 o'clock. Additionally, it can also be utilized to indicate timeliness or punctuality, emphasizing the importance of being on time. By using this emoji, you can convey the idea of being organized and prompt while referring to a particular hour or showcasing your adherence to schedules.
Instructions
Start making the "Nine o’clock" emoji Perler Pattern by choosing one of the patterns below, depending on the size of pattern you are looking for, and the outline style. Then, click on the "Print" button to the right to print out the pattern, or click on the image itself to open it in a new window.
Once you've printed the pattern, follow the instructions here to make your own Perler bead creation!

Related Patterns

Five o’clock

One-thirty

Three-thirty

Ten-thirty

Three o’clock

One o’clock

Alarm clock

Hourglass not done

Watch

Seven o’clock

Twelve-thirty

Hourglass done
More from Travel & Places


About PerlerPatterns.com
PerlerPatterns.com is the world's largest (and free) site for Perler Beads, Fuse Beads and Hama Beads patterns and designs.
Learn how to create your own Perler Bead patterns by click on the button below:
Instructions


