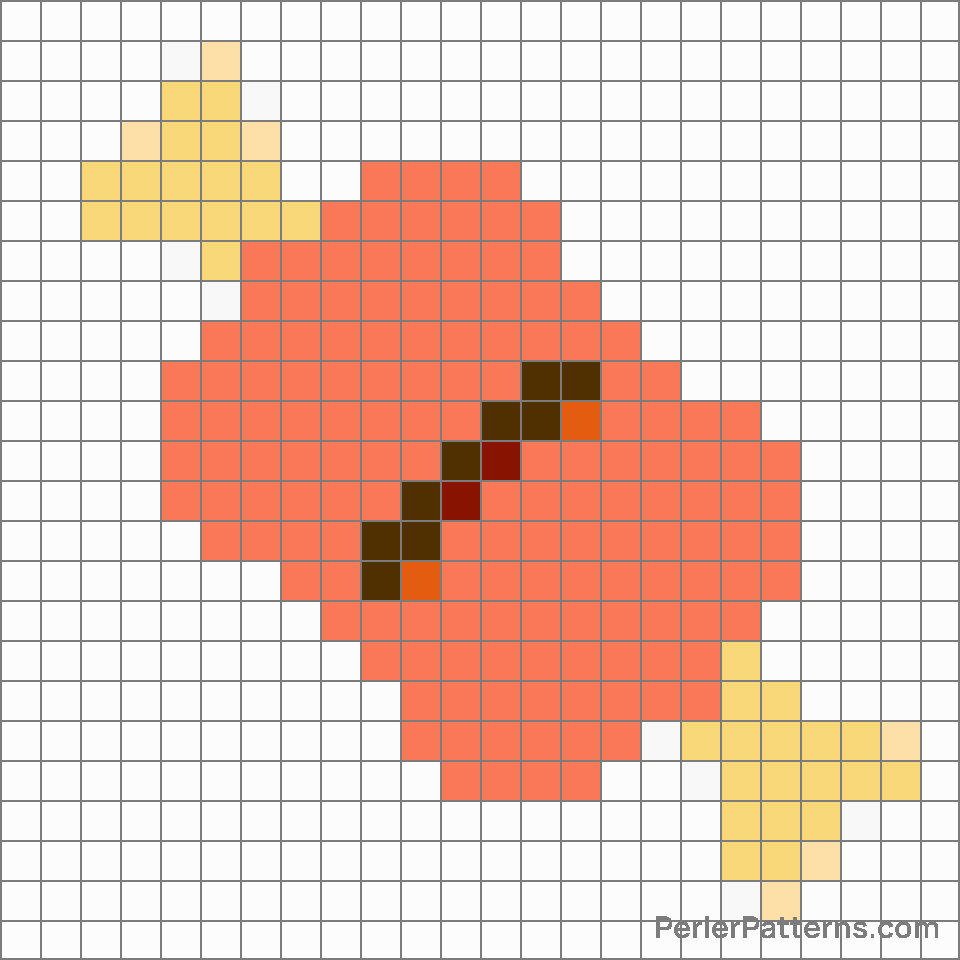
Meat on bone emoji Perler Pattern
The emoji 🍖 depicts a succulent piece of meat on a bone, possibly representing a juicy cut of beef, pork, or chicken. Displayed in various shades of brown, it exhibits intricate details of the bone, highlighting the essence of a delicious meal. The image showcases a primal instinct, reminiscent of a hearty feast or a sizzling barbecue, evoking a sense of indulgence and satisfaction. Its visual representation successfully captures the essence of a mouthwatering meaty delight, making it instantly recognizable and relatable to food enthusiasts and carnivores alike. This dynamic emoji can be used in a multitude of ways. It could serve as a symbol to express one's desire or enjoyment for meat-based dishes, acting as an invitation to a savory feast or a declaration of a deep appreciation for carnivorous delights. Additionally, the emoji can be employed humorously, for instance, to playfully tease or challenge others with regard to their love for meat. Alternately, it can be utilized conversationally to signal the anticipation of a scrumptious meal, marking the occasion of a special dinner or simply heightening the joy of discussing food. Overall, the 🍖 emoji stands as a universal representation of carnivorous delight, bridging cultures and languages, and arousing feelings of appetite and contentment in the digital landscape.
Instructions
Start making the "Meat on bone" emoji Perler Pattern by choosing one of the patterns below, depending on the size of pattern you are looking for, and the outline style. Then, click on the "Print" button to the right to print out the pattern, or click on the image itself to open it in a new window.
Once you've printed the pattern, follow the instructions here to make your own Perler bead creation!
Related Patterns

Bacon

Canned food

Salt

Pancakes

Hot dog

Poultry leg

Croissant

Egg

Pot of food

Taco

Shallow pan of food

Butter
More from Food & Drink
About PerlerPatterns.com
PerlerPatterns.com is the world's largest (and free) site for Perler Beads, Fuse Beads and Hama Beads patterns and designs.
Learn how to create your own Perler Bead patterns by click on the button below:
Instructions


