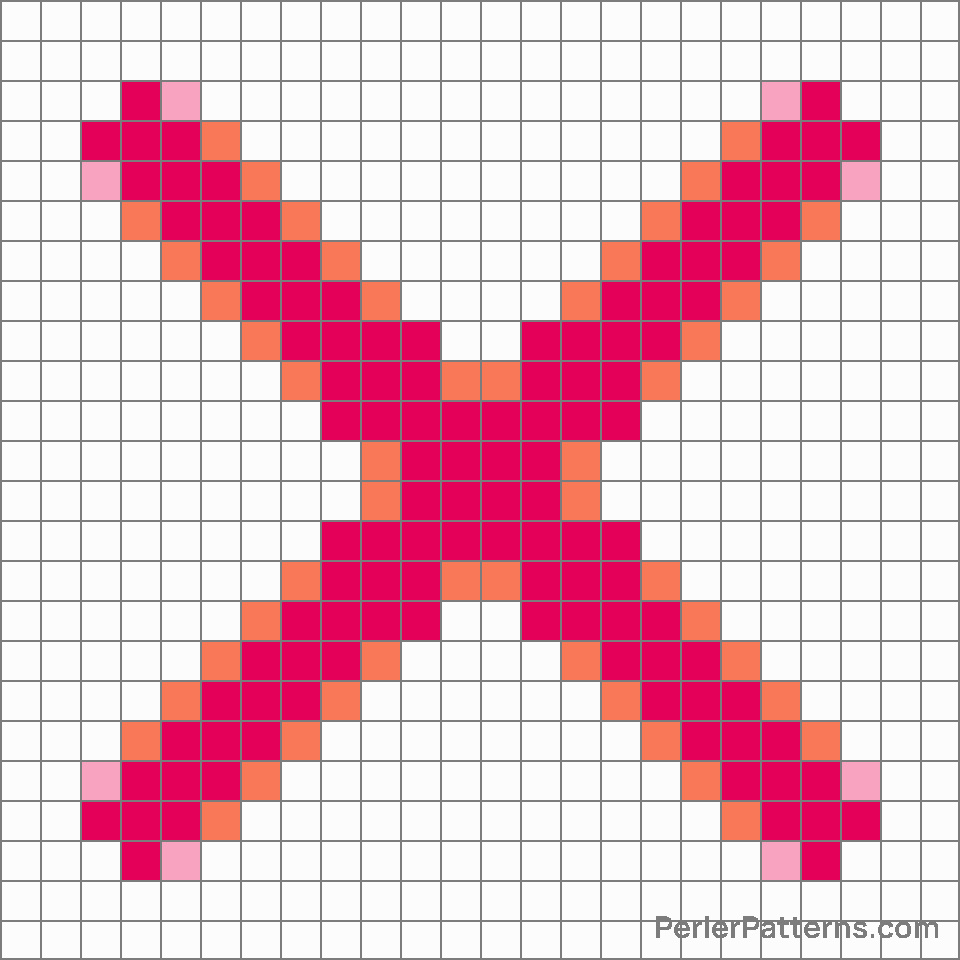
Cross mark emoji Perler Pattern
The emoji ❌, also commonly known as the "Cross Mark" or "Red X," is a simple yet powerful symbol that signifies negation, rejection, or cancellation. It consists of a bold, symmetrical X shape depicted in a vibrant red color against a neutral background. The straight strokes dynamically intersect at a center point, creating a visually striking and attention-grabbing motif. The unmistakable nature of this symbol allows it to convey the message of denial or incompletion with clarity and precision. People often employ the ❌ emoji to mark something as incorrect, erroneous, or unsatisfactory. It is commonly used to express disapproval, disagreement, or the assertion that something is not allowed or prohibited. It finds its applications in various contexts, both informal and professional. Online, individuals may use this emoji in response to false information, invalid arguments, or to debunk myths. Furthermore, its strong and decisive presence allows it to serve as a powerful tool to indicate the termination or rejection of a proposition, request, or idea. Whether used to critique an answer during a quiz, reject an invitation, or to point out an error, the ❌ emoji effectively conveys the notion of negation and prompts an alternative course of action or correction.
Instructions
Start making the "Cross mark" emoji Perler Pattern by choosing one of the patterns below, depending on the size of pattern you are looking for, and the outline style. Then, click on the "Print" button to the right to print out the pattern, or click on the image itself to open it in a new window.
Once you've printed the pattern, follow the instructions here to make your own Perler bead creation!
Related Patterns

Registered

Medical symbol

Fleur-de-lis

Curly loop

Cross mark button

Eight-pointed star

Eight-spoked asterisk

Japanese symbol for beginner

Sparkle

Check mark

Check mark button

Name badge
More from Symbols
About PerlerPatterns.com
PerlerPatterns.com is the world's largest (and free) site for Perler Beads, Fuse Beads and Hama Beads patterns and designs.
Learn how to create your own Perler Bead patterns by click on the button below:
Instructions


